Disclaimer: This is not medical advice. In order to safely transfer please get formal in person training from a professional. This article is only meant to offer tips after you have received formal training.
Time in rehab is too short to catch it all, especially when you are still in shock over everything you have to learn. Fine tune your transfer skills to ensure your loved one doesn’t fall when moving from one surface to another. Prior to helping a loved one transfer from one place to another, it is important to have awareness of how much physical assistance they require prior to helping. Speaking with the occupational or physical therapist can be helpful to obtain this information. Transfers are usually rated on a physical assistance scale. Please see below.
- Two Person Dependent Assist: Stroke survivor is totally dependent and requires the assistance of two or more people to be completed.
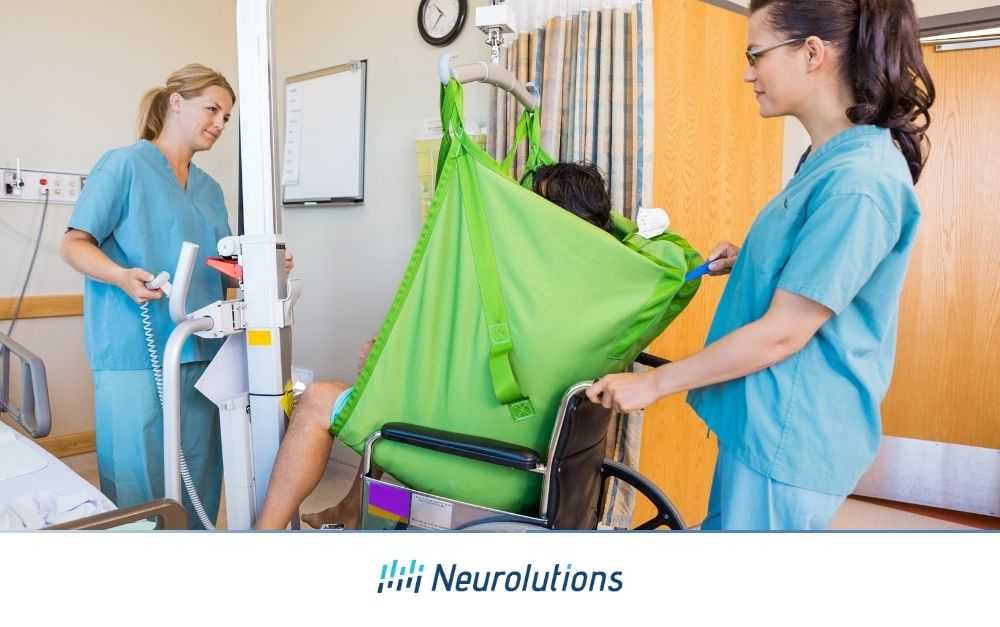
- Dependent Assistance: requires total assistance. A mechanical lift or transfer sheet may be required for this level of assistance based on the caregiver’s ability and environmental setup.
- Maximal Assistance: caregiver provides 50-75% physical assistance
- Moderate Assistance: caregiver provides 50-25% physical assistance
- Minimal Assistance: caregiver provides 25% or less physical assistance
- Contact Guard Assist: the stroke survivor is able to complete tasks by themselves;, however, the caregiver’s hand is always touching for safety and balance
- Set-up/supervision assistance: The stroke survivor is able to complete tasks physically without assistance but due to safety or other concerns, requires direct supervision from the caregiver or friend. This person may require verbal and visual cues to complete the task.
- Modified Independent: The stroke survivor is independent with no safety concerns but may complete the task differently than before the stroke, requires extra time for completion of an activity, or requires the use of equipment to do so.
- Independent: No assistance or equipment of any kind is needed.
Technique 1: Set Up for Optimal Safety
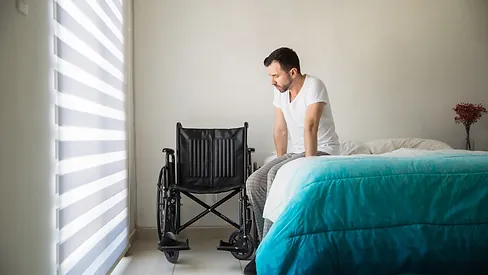
One of the most important parts of the transfer has nothing to do with the physical transfer at all. Setting up the environment is key for safety. If the stroke survivor requires a fair amount of assistance, make sure you are completing the least amount of physical stepping possible. Therefore, it is important to place the wheelchair or seat in which the individual is seated as near to the transfer target as possible. Making sure the environment is well lit with clutter removed as well as removing any cords and rugs can help decrease the likelihood of falls and feet becoming caught when attempting to transfer.
Technique 2: Make Sure to Have the Proper Equipment
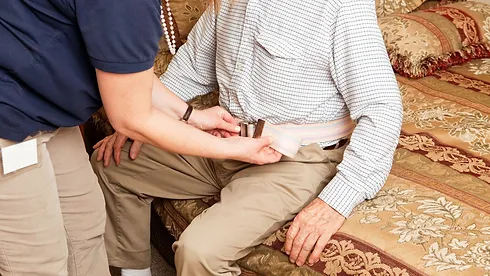
It is incredibly important to use the proper equipment to ensure safety. If the stroke survivor requires use of a walker or cane it can be very helpful to use this when standing. It is recommended to ALWAYS use a gait belt.
First, place the gait belt on the individual’s waist or hips prior to beginning the transfer and make sure all required equipment is near. The gait belt should be sung (enough room only to place hands under the belt to use for safe transfer). Thinking outside the box, such as using a bedside commode at night next to the bed or bringing the bedside commode next to the person during the day can help limit walking and poor setup of the environment of the home, increasing the ease of transfers as well.
Technique 3: Transfer to the Individual’s Stronger or Strongest Side if Possible
When someone has had a stroke, more often than not, the individual has weakness on one side. Transferring to the individual’s strong side can make the transfers not only easier physically, but also safer if the individual is able to be more confident reaching and stepping with full strength.
Technique 4: Take Your Time and Make Sure Your Body Positioning and Their Body Positioning Are Correct.
It is important to use the correct body mechanics beginning with squatting in preparation for the standing or pivot transfer, lifting with your legs and never your back. Scoot the individual to the edge of the chair, leaning forward, and allow the survivor to either push up with their hand, reach or hold onto your back to assist with movement. Incorporating “3 rocks” can be helpful and counting out loud allows the person to prepare with movement. After a stroke, language, cognitive or visual deficits can be common. It is important to prepare for deficits other than muscle weakness that may impact the safety or sequencing of the transfer. Providing visual cues such as pointing or patting the target or using colored tape to define where the patient is to sit after transferring can be helpful. Working with the therapy team to establish the best strategies for communication will be helpful during physical transfers as well. Depending on the amount of assistance required, there may be certain techniques that may work best and require specific positioning for the caregiver or survivor that will require in-person training from the team.
Technique 5: Start Over if You Need To
If a transfer begins and does not feel correct, please allow the stroke survivor to sit back down and allow for repositioning of the hips and feet as well as for yourself. Do not try to rush through as this may cause a loss of balance and an unsafe transfer.
Do I Need Training?
The Neurolutions team would like to encourage in-person training with your physical therapist and occupational therapist to learn all the above-recommended techniques and what will work best for your loved one. It is imperative that you, not yourself or your loved one when completing transfers.
Therefore, if you feel you are not able to assist with transfer safety, be an advocate for yourself and the survivor to obtain increased assistance for health professionals, family, friends, or manual lifts. There are many community-based programs that can be helpful in providing respite care or equipment. For example, in St. Louis, Missouri, there is a program that loans transfer equipment to those who need it and only asks that you return it when you are no longer in need. In conclusion, this is not an all-inclusive list of safe transfer techniques but is a good place to start. This information is however a great place to start and a good reminder to help begin the process of safe transfers.

